

 Buy Online
 08 9671 1500
 office@dsatco.com
Amending Perth Sandy Soils With Piggypost Soil Improver Before Planting
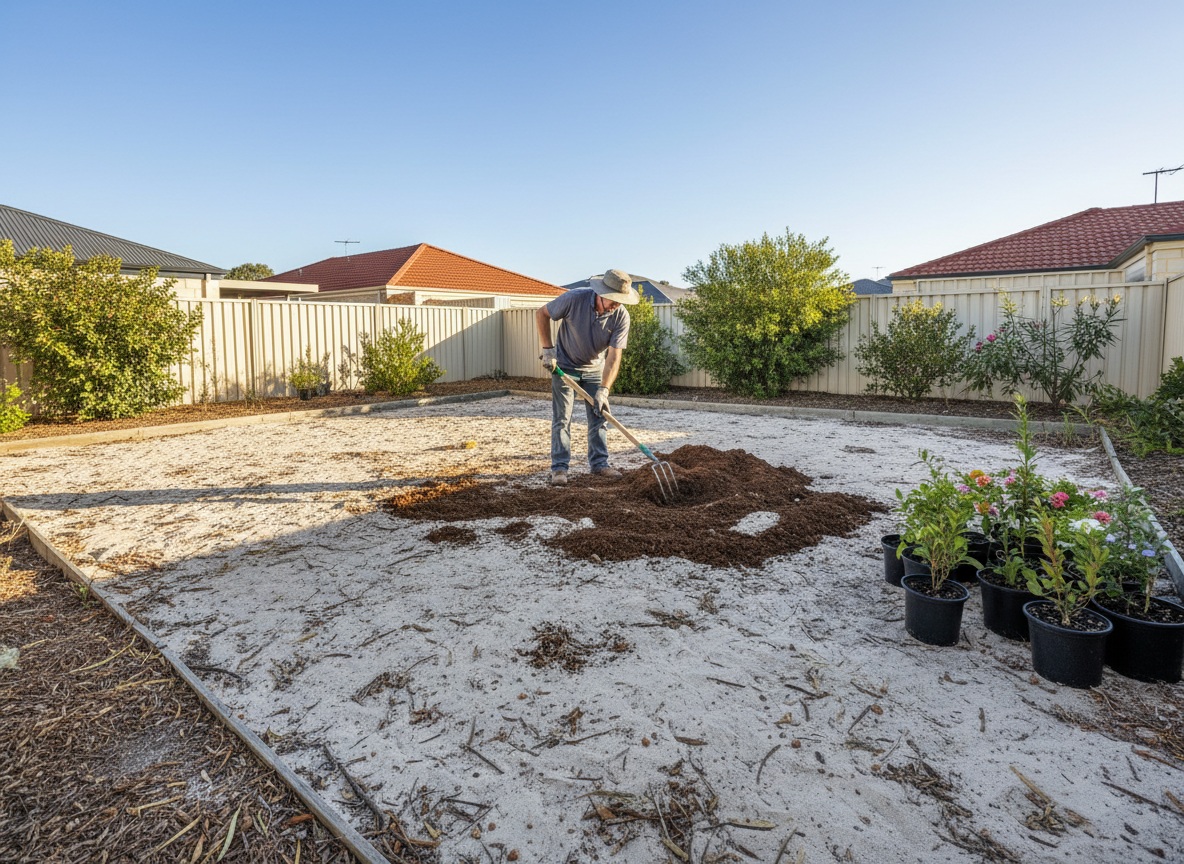
New planting often fails before the plant even goes into the ground. The real problem can be the soil waiting underneath it.
Perth sandy soils can drain quickly and contain limited organic material. That makes amending sandy soils a useful part of garden bed preparation.
A practical pre-planting plan should improve the root zone without turning the job into a complicated formula. A mature compost soil improver is one option when the bed needs more organic matter.
Read the Soil Before You Amend It
What Does Perth Sand Need Before Planting?
Sandy soil can be easy to dig, but that does not mean it is ready for planting. It may still struggle to retain useful moisture and nutrients.
DSATCO presents Piggypost soil improver as mature compost that adds humus, organic nutrients, and living microbes to soil.
That description makes it relevant to amending sandy soils before planting. It is a soil-improvement product rather than a surface covering.
Start by checking the bed itself. Look at how quickly water moves through and how little organic material is visible.
Why Amend Before Roots Fill the Bed?
Garden bed preparation is easier before plants occupy the space. You can loosen the soil and incorporate organic material without damaging established roots.
This also gives you a better chance to distribute the soil improver through the area where new roots will grow.
Avoid treating one amendment as a complete planting plan. Plant choice, watering, drainage, and surface protection still matter.
The aim is to create a more supportive root zone before planting begins.
Prepare the Root Zone in the Right Order
How Should Piggypost Be Incorporated?
Clear weeds and unwanted roots first. Then loosen compacted patches so the soil can be worked evenly.
Add Piggypost according to the current product directions. Mix it through the soil rather than leaving it in a concentrated pocket.
That approach matches how DSATCO presents the product. It is intended as a soil amendment for improved soil structure and moisture retention.
After incorporating the amendment, water the prepared soil so it settles naturally before planting.
When Should Surface Mulch Be Added?
Planting comes after the root zone is prepared. Surface mulch comes after the plants are in place.
A Sugar Cane Mulch layer can be considered where a shredded straw-based garden mulch fits the bed.
It is not the same product as the soil improver. Sugar Cane Mulch is used on top, while the amendment is worked through the soil.
Keeping these jobs separate makes amending sandy soils easier to understand.
Choose the Surface Layer for the Planting
Which Mulch Fits a New Garden Bed?
Different plantings can call for different surface materials. DSATCO lists several organic mulches rather than presenting one mulch for every situation.
DSATCO Lupin Mulch is made from WA lupin plant material with chicken manure. The site presents it as an organic mulch that contributes nutrients and organic matter.
That makes it a surface-management choice rather than a replacement for the earlier soil-preparation step.
If the planting is sensitive to a particular soil condition, check the product page and plant needs before deciding.
A cereal crop mulch offers another surface option. Triple-C combines cereal crops, chicken manure, and canola.
These products should be selected for their mulch role. They should not be presented as identical to the soil improver.
At this stage, the planting type matters more than adding every product available.
What About Areas That Are Already Lawn?
A new garden bed and an existing lawn need different preparation.
DSATCO in Western Australia separates its garden-bed products from its lawn-specific product. That helps gardeners match the product to the intended application.
That distinction matters when one property contains both lawn and planting beds.
Use the lawn product for turf care and keep garden-bed preparation focused on the soil beneath planted areas.
For established turf, Lawn Maximizer is presented as an organic top-dress fertiliser.
That is a different use from garden bed preparation. Avoid extending garden-bed soil-improver instructions to lawns unless the client specifically presents that use.
Before planting, it can also help to map the bed into practical zones. Note where shade, wind, paving, or established trees may change moisture conditions.
A sandy bed beside a hot wall may dry differently from another bed only a few metres away. Treating both areas identically may not make sense.
Use the same observation-first approach after the first watering. Check whether water spreads through the prepared soil or escapes rapidly from one section.
If part of the bed remains dry, review irrigation coverage before adding more amendment. Uneven watering can look like a soil problem.
Keep foot traffic off the prepared area where possible. Repeated walking can undo some of the loosened structure created during preparation.
When planting several species, group plants with compatible moisture needs where practical. This makes the amended bed easier to manage without overwatering one area.
Finally, keep the planting plan simple enough to maintain. Good preparation should reduce confusion, not create a schedule built around constant intervention.
After planting, keep mulch clear of direct contact with stems and crowns. This helps maintain a visible transition between plant tissue and the soil surface.
Check irrigation coverage at the edges of the bed as well as the centre. Sandy areas near paving or fences can dry differently.
Young plants may need closer observation while roots establish. That does not mean the soil amendment has failed or needs immediate replacement.
Avoid adding another soil product simply because the top layer looks dry. First check below the surface with your fingers or a small trowel.
If the deeper soil still feels moist, adjust the watering approach rather than adding more amendment.
This kind of observation keeps garden bed preparation practical. It also reduces the temptation to treat every plant response as a product issue.
A well-prepared bed should also be easy to revisit later. Keep access paths clear so future maintenance does not require walking through the root zone.
That small planning choice helps protect the structure created before planting.
FAQs About Amending Sandy Soils
Is Piggypost a Fertiliser or a Soil Improver?
DSATCO primarily presents Piggypost as a soil enhancer and soil improver.
It does contain naturally available nutrients, but its role is broader than simply feeding plants. It adds mature organic material and humus to soil.
Can I Put Piggypost on Top Like Mulch?
The product should be treated as a soil improver rather than a decorative surface mulch.
The current product information describes it as an amendment mixed with soil.
Do I Need Mulch After Planting?
Mulch can be useful after planting because it covers the soil surface.
Choose the mulch according to the bed and plant type. Keep it separate from the soil-improvement step.
Where Can I Compare the DSATCO Options?
Gardeners can view DSATCO garden products and read the individual product pages before choosing.
That is especially useful when deciding between a soil improver, surface mulch, and lawn product.
Conclusion
Good garden bed preparation starts below the surface. In sandy Perth soil, that means improving the root zone before plants compete for space.
Piggypost can be considered when mature compost and humus are needed within the soil. Surface mulch can then protect the finished bed.
If you are preparing a new sandy bed, check soil preparation options. Call 08 9671 1500.
Latest Posts
- How to Stage Bulk Bags For Soil Improvers Versus Lawn And Mulch
- How to Size Multi-Bed Garden Orders From Bulk Bag Coverage
- Coordinating Metro Stockists Sourcing and Bulk Transport for Large Projects
Reviews from
Happy Gardeners
 "Results have been spectacular. The grass has never looked healthier."
Rod


